 UPLOAD FILES
Trade Show Booth Designs: How to Combine Graphics, Layout & Branding for Better Results
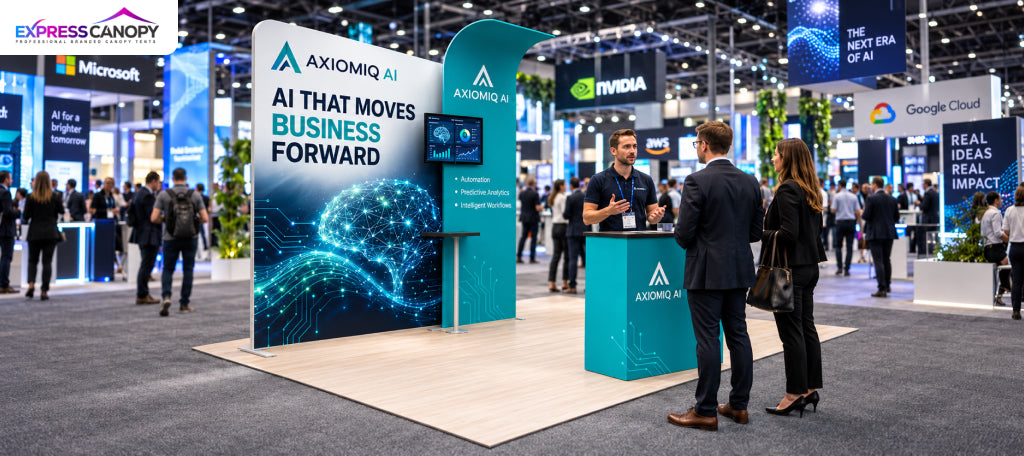
A visitor walks past your booth carrying a coffee, scanning the exhibition floor for something relevant. Your display has a brief opportunity to answer three questions: What do you offer? Is it useful to me? What's worth stopping for?
Effective trade show booth designs make those answers obvious through coordinated graphics, thoughtful layouts, and branding that supports the conversation. The goal isn't to fill every surface with visuals. It's to help the right visitors understand your offer without working for it.
Start With the Decision You Want Visitors to Make
Before choosing a backdrop or ordering graphics, identify what a successful interaction looks like.
A software company seeking demos needs a different booth from a manufacturer showcasing physical products. One should encourage bookings; the other may need space for hands-on evaluation.
Choose your main objective first. Otherwise, every department may request space on the graphics, leaving visitors with too many messages.
|
Event Objective |
Design Priority |
Suitable Display |
|
Generate qualified leads |
Clear offer and accessible conversation area |
Backwall and branded counter |
|
Demonstrate a product |
Unobstructed demo space and supporting visuals |
Backdrop with demonstration station |
|
Launch a new product |
Strong product imagery and focused messaging |
Large-format fabric display |
|
Build brand recognition |
Consistent colours and prominent brand name |
Printed backdrop and table cover |
|
Support outdoor promotions |
Overhead identification and defined selling area |
Custom canopy and flags |
Design Graphics Around a Three-Level Visual Hierarchy
People don't read exhibition graphics like brochures. They scan for useful information while moving.
A clear visual hierarchy reduces that effort by giving each message a distinct role.
Level 1: Identify the Offer
Your largest headline should communicate a customer outcome or recognizable product category.
Compare:
Generic: “Innovative Solutions for Tomorrow”
Specific: “Automated Inventory Tracking for Retail Stores”
The second tells retail buyers immediately whether the booth is relevant.
Level 2: Show the Evidence
Support the headline with one meaningful proof point: a product image, demonstration, verified certification, or measurable capability.
A manufacturer might show a detailed machine photograph with its actual operating capacity. A service provider could display a short workflow illustrating how the service works.
Avoid unsupported claims such as “industry-leading” or “number one.”
Level 3: Explain the Next Step
Use a short instruction that matches your event objective:
“Watch a Live Demo,” “Compare Materials,” or “Book a Consultation.”
Place detailed specifications, brochures, and QR codes closer to the interaction area, where interested visitors can examine them comfortably.
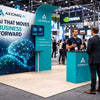
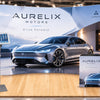
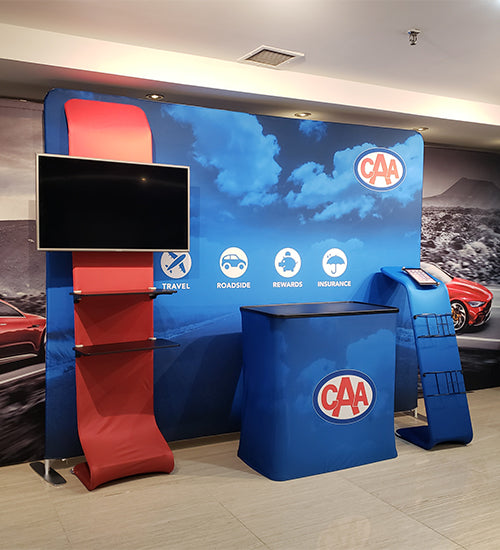
A 10ft tension fabric display offers a continuous printed surface with straight, curved, and serpentine configurations, allowing graphics to follow a deliberate hierarchy.
Plan the Layout Around How People Actually Move
Even attractive graphics lose value when visitors can't approach the booth or reach the demonstration area.
Start with the entrance, then decide where conversations and product interactions should happen.
For a 10×10 Booth
Keep the main backdrop against the rear boundary and avoid placing a large counter across the entire front.
An open corner or central entrance makes the booth easier to approach. Position the demonstration where visitors can see it without blocking neighbouring exhibits.
For a 10×20 Booth
Use the additional width to separate activities.
One side can feature a demonstration, while the other accommodates consultations or product comparisons. Maintain a clear route between them rather than creating isolated areas.
For Outdoor Exhibits
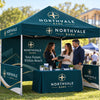
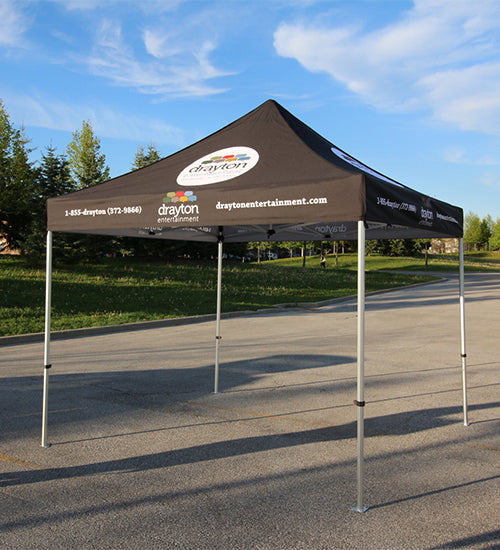
A branded canopy establishes the booth boundary and provides overhead identification. Position tables to preserve access and use compatible sidewalls only where they serve a practical purpose.
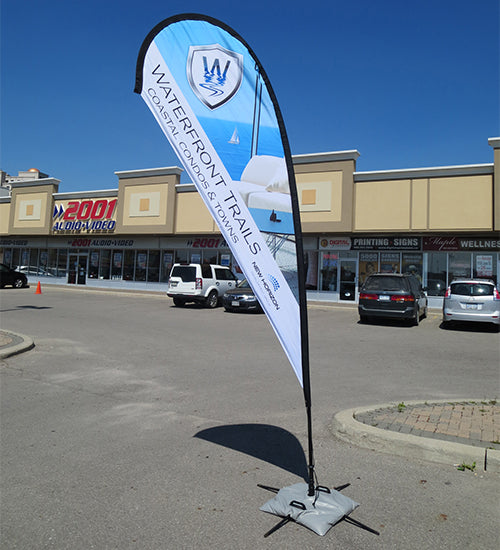
Express Canopy's 10×10 Platinum Canopy Package combines a printed canopy, back wall, half walls, fitted table cover, and flags. Check venue requirements and the package's suitability before choosing this configuration.
Make Every Display Element Serve One Purpose
Some of the best trade show booth designs look simple because each component has a specific job.
|
Component |
Best Use |
Common Mistake |
|
Fabric backdrop |
Main message and brand identity |
Filling it with paragraphs |
|
Banner stand |
Secondary offer or directions |
Repeating the backdrop |
|
Branded counter |
Demonstrations and lead conversations |
Blocking the entrance |
|
Table cover |
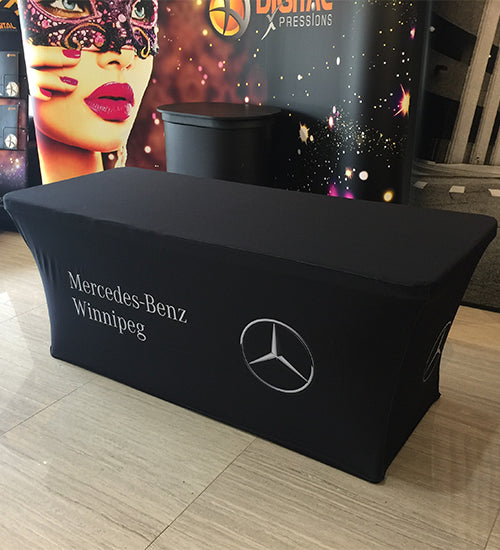
Coordinated branding and concealed storage |
Using competing graphics |
|
Lighting |
Highlighting products and readable graphics |
Creating glare or harsh shadows |
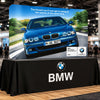
For example, pair a product-focused backdrop with a banner explaining three application areas. Add a custom printed table cover to coordinate the checkout or consultation surface without repeating every message.
Use Contrast and Consistency to Reduce Visual Effort
The best booth graphics don't just attract attention. They help visitors quickly recognize a problem, understand your solution, and decide whether it's worth a conversation. You can achieve this through a few practical design choices.
-
Contrast: If you're exhibiting commercial coffee machines, place a large image of the machine against a clean background with the headline “Serve 200 Cups Per Hour.” Keep technical specifications on a nearby banner instead of crowding the main backdrop. Visitors can identify the product and its capacity at a glance.
-
Cognitive fluency: A cybersecurity company might replace “Next-Generation Enterprise Threat Mitigation Solutions” with “Detect Threats Before They Disrupt Your Business.” The simpler wording communicates the benefit without requiring visitors to decode technical language.
-
Visual hierarchy: For a skincare brand, make the product image the focal point, follow it with a specific benefit such as “Fragrance-Free Moisturizer for Sensitive Skin,” and place “Try a Sample” on the demonstration counter. This creates a natural sequence from product recognition to interaction.
-
Brand consistency: If your backdrop uses navy blue, white, and a distinctive orange accent, carry those colours into your banner stands and counter graphics. Use orange selectively for the main call to action rather than introducing different promotional colours on every display.
-
Reduced decision friction: A flooring supplier showcasing 20 finishes shouldn't expect visitors to compare everything immediately. Organize samples into three clearly labelled groups – Residential, Commercial, and Outdoor so buyers can go directly to the options relevant to their projects.
Before approving the artwork, try one practical test: Show the booth mockup to someone unfamiliar with your company for five seconds. Ask what the business sells, who it's for, and what they would do next. If they struggle to answer, revise the messaging before spending money on printing.
Review the Design Before Production
A final review should cover more than spelling and logo placement.
Pre-Production Checklist
-
Confirm the headline communicates one clear offer.
-
Check readability at the expected viewing distance.
-
Verify dimensions, bleed, and artwork templates.
-
Keep important graphics away from seams and hardware.
-
Check counter placement, visitor access, and venue rules.
-
Test QR codes and demonstration equipment.
-
Confirm printed colours and proof approvals.
-
Rehearse assembly with the actual booth components.
For repeat exhibitors, prioritize modular displays and replaceable graphics. Updating a campaign message may be more economical than replacing the entire structure.
Plan a Booth That Makes the Offer Easier to Understand
Strong trade show booth design connects three decisions: what visitors should understand, where they should interact, and which display components make that experience possible.
Start with your event objective and available footprint. Then compare pop-up displays, fabric backwalls, and trade show accessories at Express Canopy to plan a coordinated setup that fits your message and budget.