 UPLOAD FILES
10x10 Booth Layout Ideas: The Three-Zone Setup That Makes 100 Sq Ft Feel Like 200
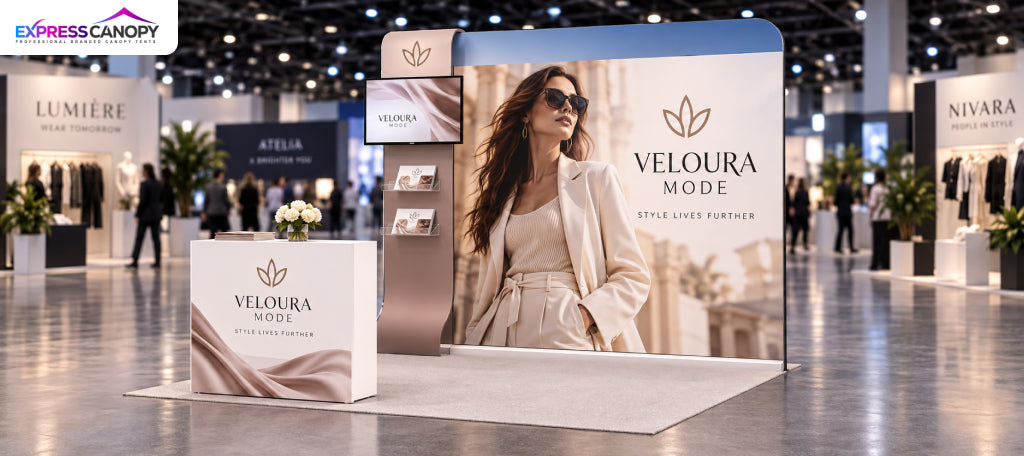
"My trade show booth is only 10ft. It feels cramped, and attendees walk right past."
If that sounds familiar, the problem probably isn't your space. A 10x10 booth isn't too small. It's an unzoned box. When the table, banner, brochures, and staff all compete for the same few feet, 100 square feet feels like a closet. When every square foot has one job, the same booth feels twice its size.
That's the idea behind the best 10x10 booth layout ideas: a three-zone setup.
-
Attract at the aisle
-
Engage in the open middle
-
Convert at the back wall
Below in the remaining blog, you'll learn how to sketch it, where to place your banner, table, and flags, which banner sizes fit, and which other 10x10 trade show booth ideas suit inline, corner, and island spaces.
Why Your 10x10 Booth Feels Cramped
A cramped booth usually comes down to a poor layout that gives you a feel of small and hard to move inside feel:
-
A table blocking traffic across the front, creating a blocked entrance visitors have to talk over.
-
A chaotic booth, with product, swag, and signage all at the same height.
-
Dead space behind the table and an unused corner where nothing happens.
-
No private consultation space for buyers who are ready to talk.
The fix of the above-mentioned isn't new graphics on a crowded layout. It's booth zoning where you split the space into functional zones so nothing overlaps. Let’s now talk more about it in detail.
The Three-Zone Setup
Zoning a booth with this booth layout framework means splitting it into three traffic flow zones (a front zone, a middle zone, and a back zone), each with one job and one display element. Below are how the booth zones of a three-zone booth setup break down:
|
Zone |
Where |
Approx. depth |
Job |
Display element |
|
Attract (entry zone) |
Front, along the aisle |
~3 ft |
Stop people and pull them in |
Feather flag + banner stand on the corners |
|
Engage (display zone) |
Open middle |
~4 ft |
Let visitors explore and talk |
Demo or product display, no barrier |
|
Convert (consultation zone) |
Back wall |
~3 ft |
Capture leads, close conversations |
Backwall + covered table and stools |
When nothing overlaps, the eye reads the booth as layers instead of a pile. A clear front, an open middle, and a tall back wall create perceived depth, so visitors see room to walk in, and they do. Treat the depths as a starting point as a demo-heavy booth can give the middle 5 ft.
The Three-Zone Layout at a Glance
Here's how the three zones fit inside a standard 10x10 space, viewed from above.
The front stays open with a flag and banner on the corners, the middle stays clear, and every conversation happens against the back wall.
Zone by Zone: Where to Place Your Banner, Table, and Flags
Each zone gets one job and the right display for it. Here's exactly what goes where.
Zone 1: Attract (Front)
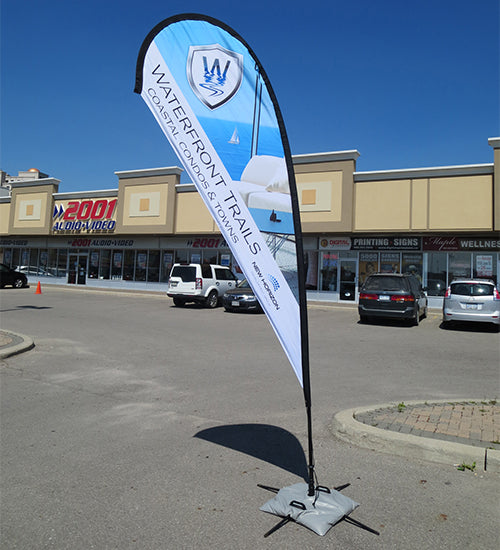
Put a Custom Feather Flag on one front corner and a Retractable Banner Stand on the other, with one clear message about who you are. Keep the center open, at least 4–5 ft wide. Never put the table here. Moving it back is the fastest route to more walk-ins.
Zone 2: Engage (Middle)
Keep this floor clear enough for two or three visitors. Use it for a demo, a tablet station, or a compact display pushed to one side. Staff stand here, angled toward the aisle, not lined up at the front. More open floor means longer dwell time and more conversations.
Zone 3: Convert (Back)
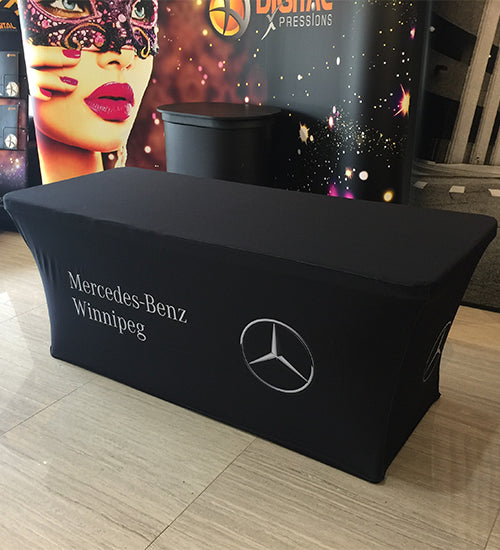
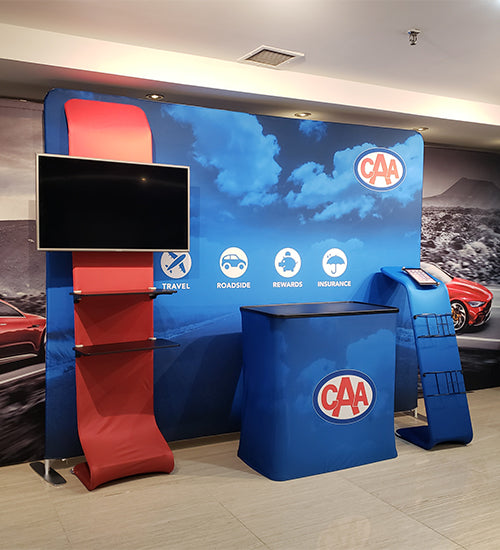
Anchor this zone with a full-width backwall from our 10ft Trade Show Displays or Tension Fabric Displays, logo placed high. Set your table against the wall in a fitted Table Cover, store supplies underneath, and add one or two stools for private consultations. Keep lead capture tools here, because better lead capture happens where conversations go deep.
Banner Size for a 10x10 Booth
The right banner size depends on where it hangs in your booth. These are the standard sizes for each spot.
|
Location |
Common size |
Zone |
|
Back wall / full backdrop |
8x8 ft or 8x10 ft |
Convert |
|
Fabric pop-up or tension frame |
8x10 ft or 10x10 ft full-coverage graphic |
Convert |
|
Horizontal canopy / tent banner |
2x8 ft or 2x6 ft |
Attract |
|
Valance / top tent border |
1x9 ft or 1x10 ft |
Attract |
|
Retractable banner stand |
33–33.5 in wide x 78–80 in tall |
Attract |
|
Tabletop banner |
3x2 ft or 4x2 ft |
Convert |
Choose 2x8 ft if you're adding a tagline, and 2x6 ft for a logo alone. To span a full 10-foot back wall with roll-ups, place three 33-inch stands or two 47-48-inch stands side by side.
Other 10x10 Booth Layout Ideas by Booth Position
The three-zone setup suits most spaces, but your booth's position matters. An inline booth sandwiched between neighbors, a corner booth with two open sides, and an island open on all sides each favor different layouts. Here are three of the most useful:
These, plus four more 10x10 exhibit booth ideas, compared:
|
Layout |
How it works |
Best for |
|
Z-Layout |
Staggered or angled tables pull visitors in on one side, loop them through the center, and end at a checkout |
Open-sided booths and busy shows; spreads crowds well |
|
U-Shape (open front) |
Displays line the left, back, and right walls; the front stays open |
Inline booths between neighbors; store-like immersion |
|
Inline / Back-Wall Focus |
Table or pedestal up front, graphic backwall, side grid panels |
Brands whose visuals do the selling |
|
Single counter |
One table along the front edge |
First shows, small product ranges, lowest cost |
|
L-Shape |
Tables along the two aisle-facing sides |
Corner booths selling to passersby |
|
Inverted L |
Tables along the two back walls, both entrances open |
Corner booths that invite visitors in |
|
I-Shape |
One or two tables down the middle that people walk around |
Island booths, or exhibitors ready to experiment |
Layouts that pull products away from the aisle need more signage and vertical displays at the front, so people can still see what you offer from a distance.
How to Choose the Right 10x10 Booth Setup
Before you commit to any of these 10x10 booth setup ideas, ask yourself:
-
Where is my booth? Inline, corner, or island?
-
How much can I transport and set up myself?
-
What's my budget? More walls of display means more cost.
-
Where will staff sit or stand without blocking flow or looking disengaged?
-
Where will storage go?
-
How will visitors move from the entrance to key products and the checkout or lead capture point?
10x10 Small Trade Show Booth Ideas to Make It Feel Bigger
Once your zones are set, these quick tips stretch the space even further.
-
Go vertical. Tall backwalls and flags use height, not floor space, to make the booth look spacious.
-
Match one brand color across the backwall, banner, table cover, and flag.
-
Choose light, full-bleed graphics to push the back wall visually away.
-
Hide boxes and coats under the covered table.
-
Cut anything that doesn't serve the attract, engage, or convert job. The result is an organized booth and a professional layout built on intentional design.
Make Every Square Foot of Your 10x10 Booth Count
A successful 10x10 booth isn't about having more space. It's about using it strategically. Whether your goal is product demonstrations, brand awareness, or lead generation, organize your layout into three purposeful zones: attract, engage, and convert.
Planning a smaller setup? Explore 8ft Trade Show Displays. Need more room to accommodate visitors? Consider 20ft Trade Show Displays.
Shop Express Canopy 10ft Trade Show Displays and turn limited floor space into valuable business opportunities.