 UPLOAD FILES
10x10 Vendor Booth Ideas: How to Create a Professional & Inviting Display

A 10x10 booth gives you 100 square feet. But once you add tables, products, storage, staff, and shoppers, the usable space disappears quickly.
These 10x10 vendor booth ideas help you decide what to display, where customers should move, and how to make purchasing easier.
Plan the Customer Journey Before the Furniture
Draw a square representing your booth and mark the aisle-facing entrance. Next, trace three actions: where shoppers notice your products, where they compare options, and where they pay or request information.
For a jewelry seller, browsing takes priority. For a skincare brand, sampling needs dedicated space. For a consultant, one demonstration and a conversation point may be enough.
Measure tables and shelving, including the space staff need behind them. Test the drawing with two customers browsing simultaneously. If they cannot move without stepping aside, remove a fixture before removing customer space.
Five 10x10 Vendor Booth Layout Ideas
Choose a layout based on the action you want customers to take.
1. Open Front: Encourage Walk-In Browsing
Place displays against the back and one side, leaving most of the aisle-facing edge clear. Shoppers can enter without squeezing around a table or interrupting staff.
Put a recognizable bestseller toward the rear, visible from the aisle. Position checkout to one side so a paying customer doesn't block new visitors.
2. L-Shape: Separate Discovery From Checkout
Arrange two tables along adjacent boundaries. Use the longer surface for product categories and the shorter one for samples, featured bundles, or transactions.
A soap maker could organize fragrances along the back and gift sets beside checkout. Leave the inside corner available for restocking where inaccessible corners become clutter magnets.
3. Perimeter: Show Variety Without Blocking Movement
Use shallow shelves along the sides and back, keeping the center open. Group merchandise in a predictable order, such as product type, size, or price range.
Check shelf depth before purchasing fixtures. A narrow display that holds fewer products can outperform a deep rack if shoppers can actually reach and compare items.
4. Backwall Focus: Sell One Clear Message
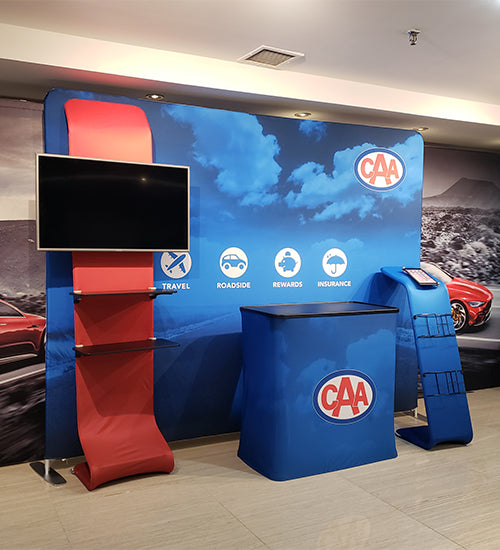
Put your primary graphic on the rear boundary, with a compact counter or product demonstration in front. Your headline should name a specific customer benefit, not just a product category.
For a packaging supplier, “Compare Packaging Options for Your Next Product Launch” gives visitors a reason to inspect samples. Keep technical specifications at the counter instead of covering the backdrop with paragraphs.
5. Demonstration: Make the Product Understandable
Reserve one visible surface for showing the product in action. Place finished examples nearby so passersby understand the result even if they miss the beginning.
Keep spectators away from checkout and leave room for browsing customers to pass. For food sampling, check the organizer's hygiene and serving requirements before planning the station.
10x10 Vendor Booth Ideas That Save Valuable Space
Feature Fewer Products, With More Intention
Select display inventory in three groups: proven bestsellers, attention-getting items, and complementary add-ons. Show representative colors or styles instead of every duplicate.
A candle seller can display one tester per fragrance while keeping boxed inventory under the table. Use labels for additional sizes or variants.
Build Up, Not Into the Walkway
Use stable risers, shelves, and vertical graphics to free horizontal space. Place featured items near eye level, frequently handled products within reach, and heavy merchandise on lower supports.
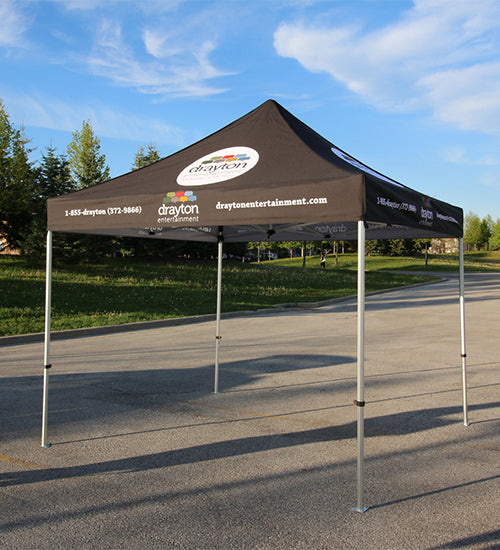
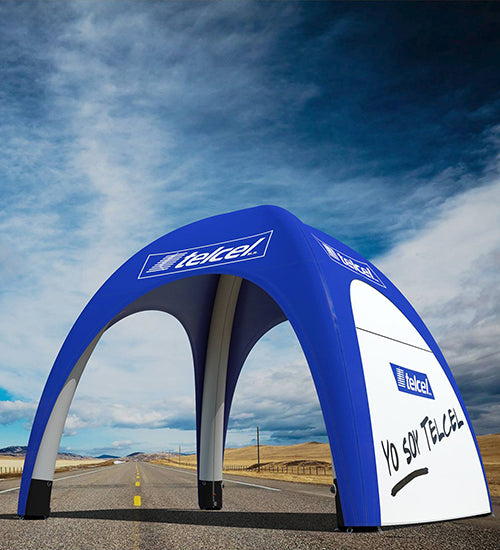
For outdoor events, a 10x10 custom canopy can carry overhead branding without adding another floor-standing sign. Confirm permitted heights, anchoring, and wind precautions with the event organizer.
Group Products by Buying Decision
Customers browse according to their needs, not your warehouse categories. Organize skincare by concern, candles by fragrance family, or jewelry by everyday wear versus special occasions.
Use short labels when distinctions aren't obvious. Place related products together so staff can recommend combinations without walking customers across the booth.
Give Every Table a Defined Job
A table can display products and conceal organized inventory, but its checkout area must stay clear. Reserve space for a card reader, packaging, and completed orders.
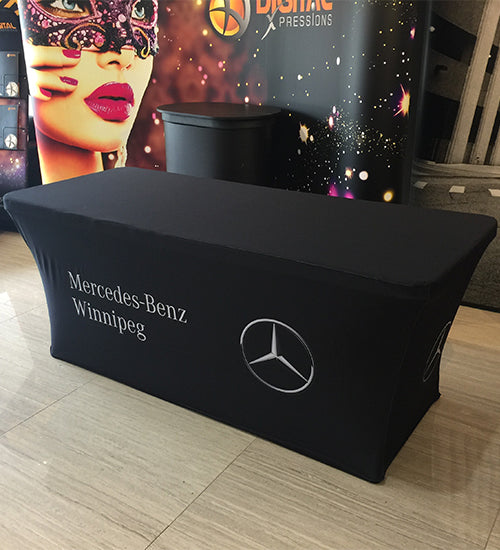
A printed table cover can unify the display and hide neatly stored supplies. Avoid treating the space beneath tables as an unplanned dumping ground; use labeled containers for fast replenishment.
Keep Transactions Out of the Browsing Path
Place payment near the end of the natural shopping route, not directly in front of your most popular display. Show prices and accepted payment methods where customers can see them.
For custom orders, keep samples, options, order details, and payment together. A complicated personalization request shouldn't prevent another shopper from making a straightforward purchase.
Vendor Booth 10x10 Craft Booth Layout Ideas
Craft sellers need to show range without sacrificing the space required to inspect handmade items.
Jewelry: Arrange pieces by style or material in shallow trays. Elevate featured designs, but keep small price tags readable. Provide a mirror without placing it in the main entrance.
Ceramics: Group matching collections together. Keep fragile pieces on stable surfaces away from crowded corners, and offer assistance rather than forcing customers to reach over other items.
Candles and soaps: Display testers separately from saleable stock. Organize by scent family and keep ingredients or care information accessible where relevant.
Personalized gifts: Show finished examples alongside available customization choices. Use one designated point for recording names, spellings, specifications, and pickup or delivery arrangements.
In each case, replenish from hidden stock instead of filling every surface at opening time.
Make the Booth Look Professional From the Aisle
Your branding should answer three questions quickly: who sells this, what is available, and why should I stop? Put the business name and main offer at a height that remains visible when shoppers gather around the tables.
Use a consistent color palette and readable typography. Save detailed information for product cards and staff conversations. A sign listing twenty features is harder to scan than a headline paired with a relevant product.
For outdoor events, custom canopy options and printed walls can create a coordinated backdrop. Choose graphics based on sightlines: a wall hidden behind tall shelves won't do much branding work.
Divide the Booth Into Three Working Zones
Attract: Position the hero product and main message where passing visitors can see them.
Browse: Provide accessible displays with logical categories, prices, and enough room to compare products.
Act: Designate a clear checkout, order station, or consultation point.
These zones don't require barriers. In an L-shaped setup, the back can attract attention, the side can support browsing, and the front corner can handle payment.
Avoid Mistakes That Cost Space and Sales
Small setup mistakes have an outsized impact in a 100-square-foot space. Check these before committing.
Blocking the entrance: A full-width front table can work for counter service, but it's a barrier when shoppers need to enter and browse.
Choosing furniture first: Map the sales process and measure customer space before buying shelves or counters.
Displaying all inventory: Duplicate stock creates clutter and makes featured products harder to notice.
Forgetting storage: Plan where boxes, bags, spare stock, and personal belongings will go before opening.
Ignoring event rules: Confirm booth boundaries, canopy permissions, fire safety, power access, and securing requirements with the venue.
Overcomplicating assembly: Choose equipment your team can transport, set up, maintain, and pack away within the event schedule.
Your Pre-Event Setup Checklist
Use this checklist during a full mock setup, not just while packing. Test the booth with the displays, merchandise, and staff positions you expect at the event.
-
Confirm dimensions, access points, and organizer restrictions.
-
Choose one primary goal: sales, demonstrations, or inquiries.
-
Draw the layout using actual furniture measurements.
-
Select featured products and organize categories.
-
Reserve a clear route for customers and staff.
-
Plan signage, storage, checkout, and replenishment.
-
Test the booth from the aisle before opening.
Build a Booth Around the Sale
The strongest 10x10 vendor booth ideas make the customer's next action obvious. Choose the layout first, then select displays that support product discovery, comfortable movement, and efficient checkout. For outdoor selling, explore Express Canopy's branded canopy setups once you've confirmed your event requirements and footprint.
FAQs
What can fit in a 10x10 vendor booth?
The space may accommodate tables, shelving, storage, and a payment point, but usable room depends on furniture depth, staff, visitors, and event restrictions. Measure the complete arrangement rather than relying on the 100-square-foot figure alone.
How do I make a 10x10 craft booth feel bigger?
Use shallow perimeter displays, vertical shelving, concealed inventory, and an open entrance. Remove furniture that doesn't support browsing or transactions.
Can I use sidewalls on a 10x10 canopy without making the booth feel enclosed?
Yes. A printed backwall can provide branding and conceal storage while keeping the front open. Adding sidewalls may help with weather protection or define display boundaries, but it can also reduce visibility and entry options. Choose the configuration based on your booth layout, weather conditions, and event restrictions.