

 UPLOAD FILES
How to Take Down a Pop-Up Canopy Step-by-Step Guide
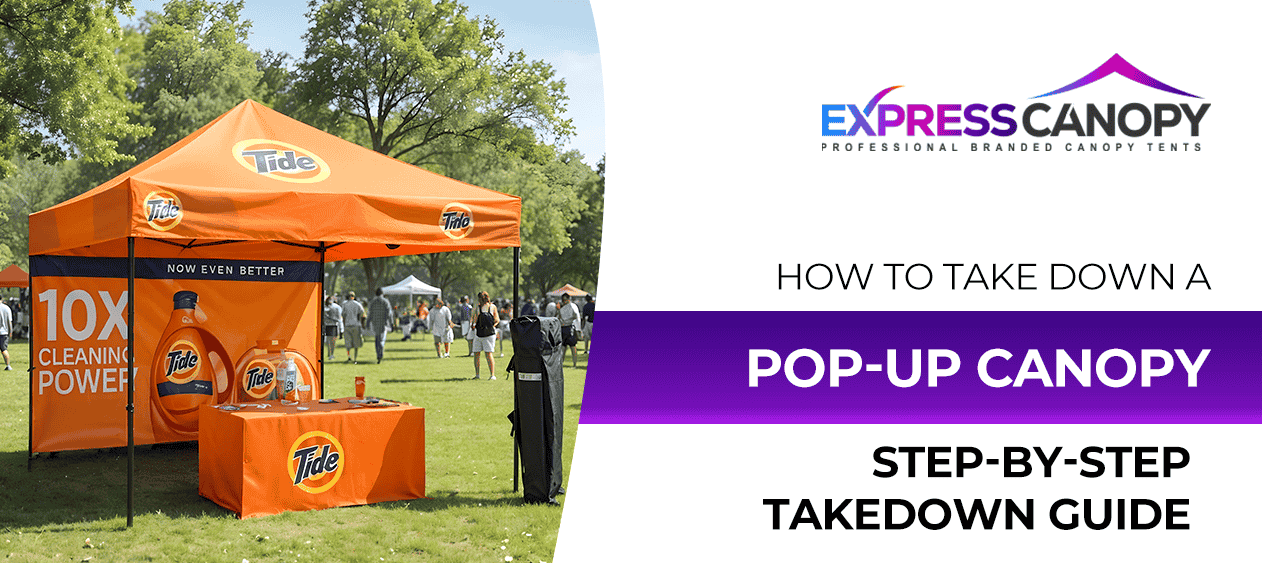
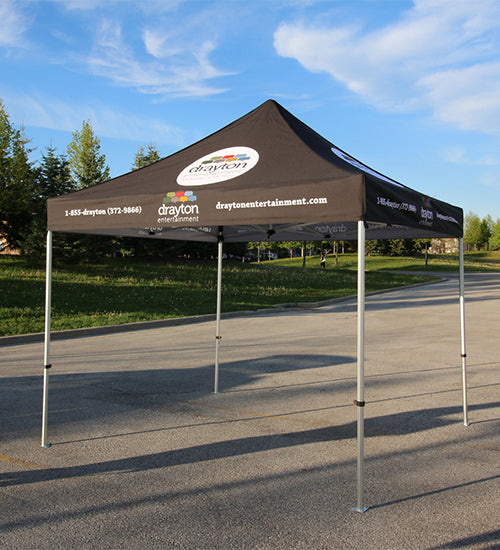
If you’ve worked at any outdoor event, trade show, or local activation, you already know the value of a custom pop up canopy. It’s more than a tent. It acts as your mobile storefront and your brand’s mini headquarters. But while setting it up might feel routine, the way you take it down directly impacts how long it lasts.
Whether you're packing up a canopy with wall graphics or a full event tent with sides, doing it the right way prevents damage. It keeps your canopy looking sharp for the next event. This discussion guides you through every step of the process, without jargon, providing clear instructions from one event person to another.
Preparation Before Takedown
Before diving in, take a moment to check the scene. Is the weather stable? Is the area cleared? You want a calm space to work—no guests in the way, no wind yanking corners, and no last-minute spills from nearby setups.
Also, gather what you need. If you’re dealing with the best outdoor canopy designed for branded displays, a few extra steps now can save you hours later.
Pointers to prep like a pro:
-
Wear gloves—you’ll thank yourself when folding sharp joints.
-
If your tent’s big, grab a teammate.
-
Gather ropes, stakes, and all canopy tent walls in one spot.
-
Pat down damp sections before folding to avoid mildew later.
Step-by-Step Takedown Process
1. Remove Sidewalls and Extras
Start with the extras, pull off the canopy tent walls first. These are often customized with logos or sponsors, so treat them with care. Don’t yank, unzip, or unhook slowly.
Once off, roll (don’t fold!) the sidewalls. Creases can permanently mark printed designs or crack coated fabrics. Place them somewhere clean and dry.
2. Take Out Stakes and Weights
Next, head to the base. Loosen and remove any stakes, anchors, or sandbags. These do a lot during windy setups, but now it’s time for them to go.
Smart take-down tips:
-
Wiggle stakes out at an angle to avoid bending.
-
Avoid dragging sandbags—they can rip or spill.
-
Sort and bag hardware immediately so it’s not scattered later.
3. Collapse the Frame Roof
Now comes the core part, collapsing the roof. Start by releasing the frame locks on each leg. This frees the tension in the structure. Then slowly walk the corners toward each other, folding as you go.
Be gentle, forcing it can twist metal or tear fabric. High-quality custom pop up canopies are built to last, but only if handled with care.
4. Fold Down the Legs
Lower the legs by pressing the buttons or sliding locks, depending on the design. Do this evenly across all legs to prevent warping.
If a leg’s stuck, don’t jam it; add a touch of silicone spray or gently tap around the joint. It’s often just dust or moisture.
5. Handle the Fabric
Detach or fold the top fabric with patience. If your canopy top is still attached to the frame, fold it neatly along the struts without stuffing it.
Especially if you’re using a canopy with a wall setup, roll the branded fabric away from sharp edges. Dirt or moisture trapped here can significantly shorten its life.
6. Pack It All Up
Wrap straps around the collapsed frame, and tuck it all into its storage bag. If your tent came with a padded case, use it. It’s not overkill, it’s protection.
Pointers for tidy storage:
-
Keep branding fabric and hardware in separate bags.
-
You must avoid over-tightening the straps, as this can strain the frame.
-
Always store your canopy dry, especially if you want it to look fresh at the next show.
Post-Takedown Care and Maintenance
Think of this step like brushing your teeth after eating; it’s not flashy, but it keeps your gear in good shape. After each event, give everything a quick check. That includes your frame, connectors, locks, and especially the fabric on your canopy tent walls.
Light cleaning can go a long way. Use mild soap and water—never bleach—and gently sponge off dirt or stains. Let every piece dry before putting it in the bag.
Simple maintenance checklist:
|
Task |
How Often |
Why It Matters |
|
Inspect joints & fabric |
After each event |
Spot damage before it spreads |
|
Clean surface dirt |
After use |
Prevent buildup and discoloration |
|
Dry before storing |
Always |
Avoid mold or unpleasant smells |
|
Lubricate metal joints |
Every 2–3 months |
Keeps folding smoothly and stress-free |
Troubleshooting Common Issues
Sometimes, even with reasonable care, something goes off. Maybe a leg sticks. Maybe a lock won’t release. Or worse, your fabric rips during a fast pack-up in bad weather.
If you’re using the best outdoor canopy, many of these parts are replaceable. For minor fabric damage on your canopy tent walls, use outdoor repair tape or a patch kit made for tents. And for frames, always use the parts made for your brand—improvising can lead to more damage later.
Safety Tips
Let’s not forget: even something as routine as a takedown can be risky if rushed. A collapsing frame, a slippery surface, or sudden wind can all create issues, especially with a larger event tent that has sides.
Keep it safe by remembering:
-
Never fold large canopies alone—get a second set of hands.
-
Watch for tripping hazards and sloped ground.
-
Wear gloves and closed-toe shoes.
-
Take your time—fast is good, but safe is better.
Final Thoughts
At the end of the day, your custom pop-up canopy isn’t just a shelter; it’s your brand’s asset. How you take it down matters just as much as how you set it up. A careful takedown means fewer repairs, less stress, and more events. In simple words, it is directly impacts the age of your canopy tent.
Whether it’s a basic cover or a fully loaded event tent with sides, following these steps can help you store and protect your gear properly. So next time you’re packing up, remember—it’s not just folding fabric. You’re preserving your presence for every event still to come.
Frequently Asked Questions
1. Can I take down a pop-up canopy by myself, or do I need help?
It depends on the size of the canopy. For smaller canopies (like 8x8 or 10x10 canopy), one person can manage easily. But for anything larger or with full walls, it’s smarter and safer to get help from others. Trying to collapse it solo could damage the frame or fabric.
2. Is it okay to leave the canopy top attached when folding the frame?
Yes, but only if the fabric of the canopy is clean and dry. Many canopy tops are designed to stay on during takedown, which can speed things up. Just be sure to fold it gently along the struts. You have to avoid cramming it into the case, as creases and dirt can wear down the material faster.
3. What’s the best way to store sidewalls and printed panels after use?
Roll them—don’t fold. Folding can leave harsh lines or even crack-coated areas on custom prints. After rolling, you have to keep them in a dry and clean storage bag. If they are even slightly damp, you have to let them air out first. It can help you avoid mold or smell later.
4. Why do my tent legs get stuck during takedown, and how can I fix it?
Stuck legs usually mean dirt, moisture, or minor corrosion inside the joints. A quick fix is a bit of silicone spray. It can be a light tap around the problem area as well. Moving forward, regular cleaning and occasional lubrication also help keep everything sliding smoothly.
5. What’s the biggest mistake people make when packing up a pop-up canopy?
Rushing. People yank the frame, fold wet fabric, or toss everything into the bag without organizing. That is how frames are bent, prints get ruined, and parts go missing. If you take a few extra minutes to do it right, it can save money and headaches down the road.
- Posted in Custom pop-up canopy, Pop-up canopy takedown, Sidewall for Your Canopy Tent, Takedown guide, Tent care tips


